

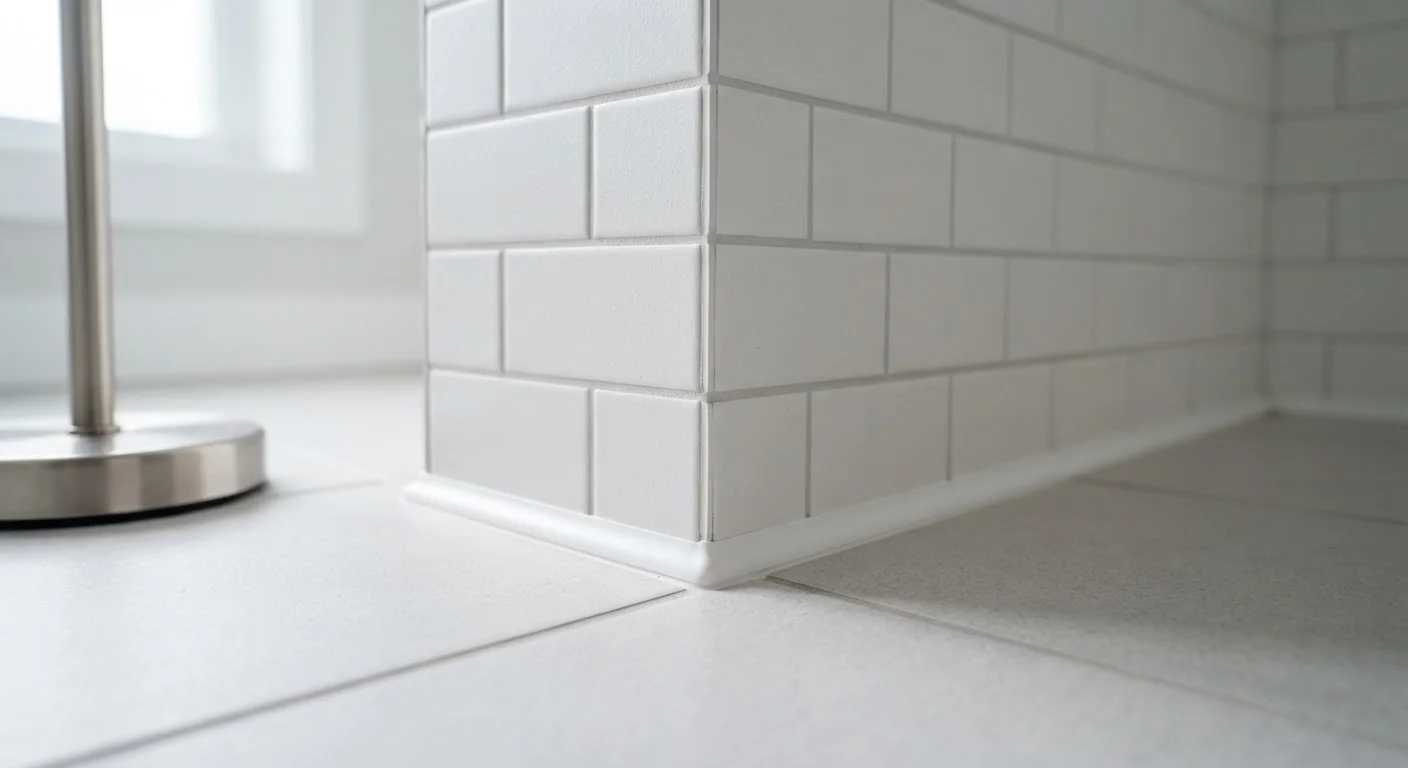
Option A
Grout
The rigid, load-bearing filler for tile fields.
Best for: Filling the uniform joints between tiles on flat, stable surfaces such as floors, walls, and countertops.
Option B
Caulk
The flexible sealant for movement-prone joints.
Best for: Sealing corners, transitions, and any joint where two different surfaces or materials meet and may shift over time.
Why the Distinction Matters
At a glance, grout and caulk can look nearly identical once applied — both fill gaps, both come in similar colors, and both show up in bathrooms and kitchens. The confusion is understandable, but using the wrong material in the wrong place is one of the most common causes of water damage in tiled areas.
Grout is a cement-based (or epoxy-based) compound that cures rigid. That stiffness is exactly what you want between tiles that sit on the same flat surface, where there is little expected movement. Caulk, by contrast, is a flexible sealant — typically acrylic latex or silicone — that stays pliable after curing. That flexibility allows it to stretch and compress as surfaces move without breaking its seal.
The core rule: same plane, same material = grout; change of plane or change of material = caulk. Every tiled installation has both types of joints, and each needs the right product.
| Criterion | Grout | Caulk |
|---|---|---|
| Composition | Cement- or epoxy-based | Silicone or acrylic latex |
| Flexibility after curing | Rigid | Flexible and elastic |
| Best joint location | Between tiles, same plane | Corners, transitions, changes of plane |
| Water resistance | Good (with sealer); porous if unsealed | Excellent (silicone); moderate (acrylic) |
| Movement tolerance | None — cracks under flex | High — designed to stretch and compress |
| Typical lifespan | 10–20 years with maintenance | 5–10 years; re-application needed |
| DIY difficulty | Moderate — mixing and timing matter | Low to moderate — tooling takes practice |
Where Each Material Belongs
Use grout for:
- Joints between tiles on floors, walls, or countertops — wherever tiles share the same flat plane
- Field tile installations where joints are uniform in width (unsanded grout for joints under 1/8 inch; sanded grout for wider gaps)
Use caulk for:
- The seam where a bathtub or shower base meets the wall tile — a classic flex joint
- Inside corners where two tiled walls intersect
- The transition between a countertop and its backsplash
- Around plumbing fixtures — faucet bases, shower valves, drain flanges
- Where tile meets a dissimilar material such as wood trim or a window sill
A helpful way to remember it: any joint that crosses a change in direction or a change in material is a caulk joint. Building codes and tile industry standards (such as those published by the Tile Council of North America) consistently reinforce this principle.
The 'Change of Plane' Rule in Practice
A helpful on-the-job check: run your finger along the joint. If it stays on one flat surface the whole way, it is likely a grout joint. If your finger has to turn a corner or move from one material to another — tile to tub, tile to floor, tile to wood trim — that joint belongs to caulk. This single habit eliminates most grout-vs-caulk confusion on a real project.
Choosing the Right Type Within Each Category
Once you know which product a joint calls for, the next step is selecting the right formulation.
Grout types
- Unsanded grout — best for joints narrower than 1/8 inch; smooth texture prevents scratching delicate tile surfaces
- Sanded grout — contains fine aggregate for strength; used in joints 1/8 inch and wider, common on floors
- Epoxy grout — highly stain- and chemical-resistant; a good choice for commercial kitchens or heavily used spaces, though it requires more careful mixing and application
Caulk types
- Silicone caulk — fully waterproof, mold-resistant, and very durable; the standard choice for wet areas like showers and tub surrounds
- Acrylic latex caulk — paintable and easier to tool; better suited to drier locations such as countertop-to-backsplash seams or window trim
- Siliconized latex (hybrid) — blends flexibility and paintability; a middle-ground option for semi-wet areas
For wet areas, prioritize mold-resistance labeling on any caulk you select. If your existing grout color is distinctive, look for color-matched caulk — most major grout lines offer coordinating caulk tubes. If caulk in your bathroom is already showing signs of failure, our guide on why bathroom caulk fails and how to reseal it walks through the removal and reapplication process step by step.
~70%
Tile failures linked to improper joint selection
Industry tile installers frequently cite wrong joint material as a leading cause of premature tile and grout failure in residential wet areas.
5–10 yrs
Average caulk service life in wet areas
The Tile Council of North America notes that caulk in high-moisture environments typically requires inspection and replacement on a roughly 5-to-10-year cycle.
1/8 in.
Grout type threshold (sanded vs. unsanded)
Standard tile industry guidance recommends unsanded grout for joints under 1/8 inch and sanded grout for wider joints to prevent shrinkage cracking.
Common Mistakes and How to Avoid Them
Even experienced DIYers fall into a few predictable traps when working with grout and caulk.
Grouting a caulk joint. This is the most consequential error. Filling a tub-wall seam or an inside corner with grout guarantees cracks — sometimes within a single season — because rigid grout cannot flex with the natural movement of the structure. Once cracked, water finds its way behind the tile and into the wall cavity before any visible damage appears.
Skipping surface preparation. Caulk adheres poorly to dusty, damp, or waxy surfaces. Clean and dry the joint thoroughly before applying, and remove all old caulk residue — a razor scraper or oscillating tool speeds up this step considerably.
Applying caulk over grout. Some homeowners try to patch a cracked grout joint with caulk rather than re-grouting. In a flat tile field this creates an inconsistent surface that traps dirt and looks uneven. Re-grout those joints properly.
Overfilling or underfilling. Grout joints should be filled flush to the tile face. Caulk joints benefit from a slight concave profile — use a wet finger or a caulk-finishing tool to press the bead into the joint and smooth it before it skins over.
When in doubt about structural joints, particularly in older homes where tile may be set over a mortar bed, consult a licensed tile contractor. Complex re-tile or waterproofing work near plumbing often requires permits depending on your local building code — verify requirements with your municipality before starting.
The content on this site is for informational purposes only and is not a substitute for professional advice. Always consult a qualified professional for guidance specific to your situation.