

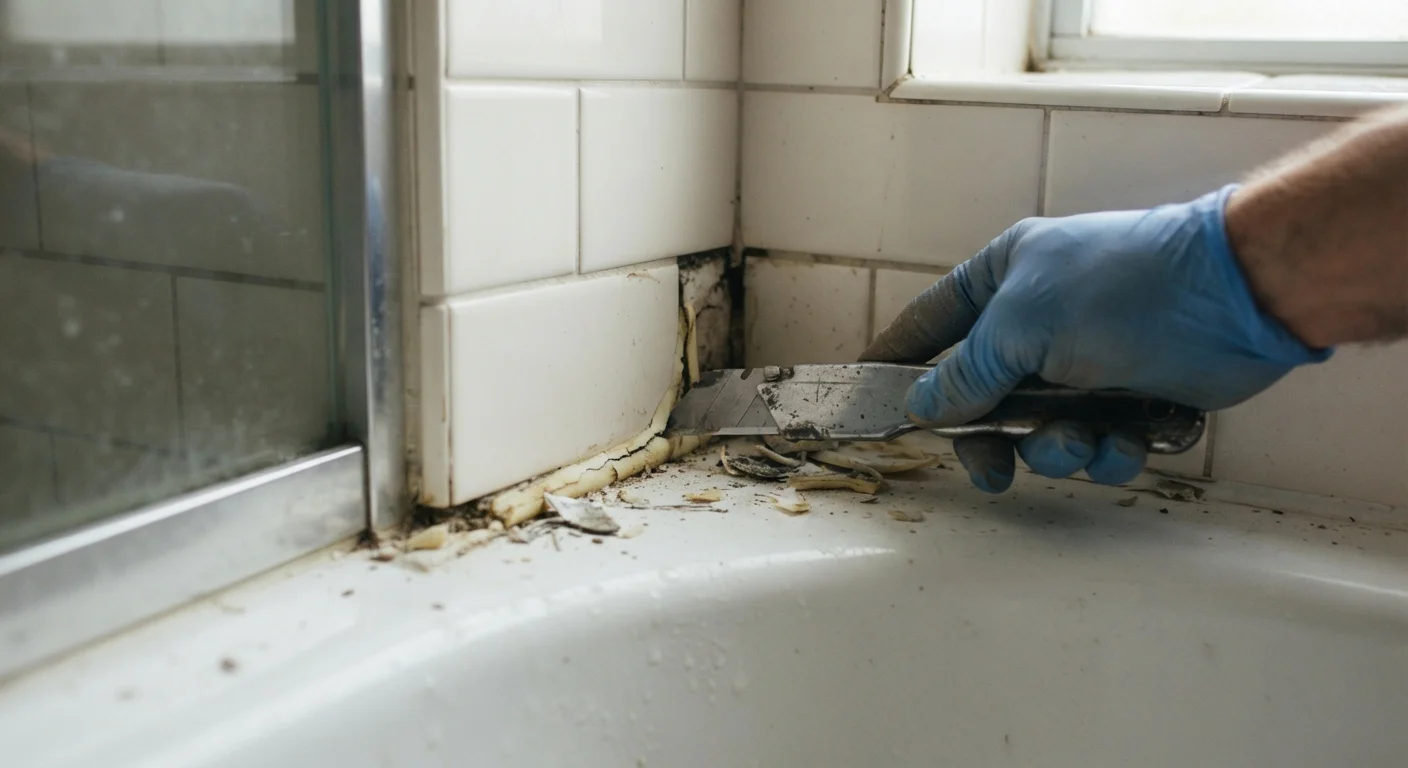
Why Bathroom Caulk Deteriorates Over Time
Caulk in a bathroom faces a relentless combination of forces: daily heat and humidity cycles, the physical flex of a tub under body weight, cleaning chemicals, and simple age. Most caulk products are rated to last five to ten years under normal conditions, but poor application or high-moisture environments can shorten that window considerably.
The most common signs of failure include visible cracking or shrinking, a gap forming between the caulk and the surface, discoloration or black mold growth on or beneath the bead, and a spongy or peeling texture. Any of these signals that the seal is compromised — and water may already be migrating behind tiles or into the subfloor.
Mold is often the most visually alarming symptom, but it's important to understand that surface mold on caulk doesn't automatically mean there's hidden structural damage. However, a failed seal left unaddressed long enough can allow moisture to reach wall framing, drywall, or subflooring — repairs that are significantly more involved and costly. Acting when caulk first shows wear is a straightforward way to protect a much larger investment.
It's also worth knowing the difference between where caulk belongs versus grout. The two materials look similar but serve different purposes — understanding which one belongs where helps you make the right repair choice the first time.
Never Caulk Over Existing Caulk
Applying fresh caulk on top of old, failing caulk is one of the most common DIY mistakes. The new layer has nothing solid to bond to, so it will peel away quickly — often within weeks. Full removal of the existing caulk is a non-negotiable first step. This also prevents mold and bacteria from being trapped beneath the new seal.
Choosing the Right Caulk for Bathroom Use
Not all caulk is created equal, and using the wrong type in a wet environment is a common reason repairs fail prematurely. For bathroom joints — particularly around tubs, showers, sinks, and toilets — 100% silicone caulk or a silicone-latex hybrid labeled for bathroom or kitchen use is generally the appropriate choice.
Pure silicone caulk offers superior flexibility and water resistance, making it well-suited to joints that experience movement. It also resists mold growth better than standard latex (acrylic) caulk. The tradeoff is that silicone is harder to work with and requires mineral spirits rather than water for cleanup. Latex or acrylic-latex caulks are easier to apply and clean up with water, but are less durable in constantly wet conditions unless specifically formulated for bathroom use.
Look for products labeled mold- and mildew-resistant and rated for wet areas. Color-matching to existing grout or fixtures is largely cosmetic, but using a caulk that's clearly visible makes it easier to spot future wear.
Caulk remover tool or utility knife
Used to cut and scrape away the old caulk from the joint without damaging surrounding tile or the tub.
Silicone caulk (mold-resistant, bathroom-rated)
The primary sealant applied to waterproof the joint between the tub and tile or wall.
Caulk gun
Provides controlled, even dispensing of caulk along the joint for a consistent bead.
Isopropyl alcohol or surface cleaner
Cleans and degreases the joint surface so the new caulk bonds properly.
Painter's tape
Creates clean, straight edges on either side of the joint for a professional-looking finish.
Caulk finishing tool or damp finger
Smooths the fresh caulk bead into the joint and removes excess for a neat, watertight seal.
Step-by-Step: How to Remove Old Caulk and Reseal the Joint
Recaulking a bathroom joint is well within the reach of a first-time DIYer. The process requires patience more than skill — particularly around surface preparation and drying time. Follow these steps carefully, and the repair should hold for years.
What you will need
Score and remove the old caulk
Use a utility knife or dedicated caulk remover tool to cut along both edges of the existing caulk bead. Work carefully to avoid scratching porcelain, acrylic, or tile surfaces. Once scored, peel away the bulk of the old caulk in strips. Use the tool's edge to scrape any remaining residue from both surfaces of the joint.
Clean and degrease the joint
Wipe the entire joint area with isopropyl alcohol or a non-residue surface cleaner. Remove any soap scum, mold stains, or adhesive residue. If surface mold is present, a diluted bleach solution can be used first — rinse thoroughly afterward. A clean, residue-free surface is essential for proper caulk adhesion.
Allow the surface to dry completely
This is the step most people rush — and skipping it causes early failure. Let the joint and surrounding surfaces dry for a minimum of 12 to 24 hours before applying new caulk. Open windows or run a bathroom exhaust fan to speed up drying. The joint must be bone dry before you proceed.
Apply painter's tape and load the caulk gun
Run painter's tape along both edges of the joint, leaving the gap itself exposed. Cut the caulk tube nozzle at a 45-degree angle — start with a small opening, roughly 3–4mm, to control the bead size. Puncture the inner foil seal with a wire or nail, then load the tube into the caulk gun.
Apply a steady, continuous bead of caulk
Hold the gun at a consistent angle and apply even pressure as you move along the joint in one smooth motion. Aim to fill the joint completely without excess buildup. Work in one direction and try not to stop mid-run, as start-stop points can leave gaps or lumps in the finished bead.
Smooth the bead and remove the tape
Wet your fingertip or use a caulk finishing tool to drag along the bead in one smooth pass, pressing the caulk into the joint and removing excess. Then carefully peel away the painter's tape while the caulk is still wet, pulling it back at a 45-degree angle. Clean up any smears with a damp cloth before they set.
Allow full cure time before using the shower or tub
Leave the caulk undisturbed for 24 to 48 hours, or per the manufacturer's instructions. Avoid splashing water on the joint during this period. Once fully cured, the caulk will be firm, slightly flexible, and waterproof.
Tape for a Cleaner Finish
Applying painter's tape along both sides of the joint before you lay the caulk bead creates a clean, straight edge. Remove the tape while the caulk is still wet — immediately after smoothing — for the neatest result. This is especially helpful in visible areas like the tub-surround seam.
Allow Full Cure Time Before Exposing to Water
Silicone caulk may feel dry to the touch within a few hours, but it needs 24 to 48 hours to fully cure depending on the product and humidity level. Using the shower or tub before the caulk has cured can compromise the seal and cause premature failure. Always check the manufacturer's guidance on cure time.
The content on this site is for informational purposes only and is not a substitute for professional advice. Always consult a qualified professional for guidance specific to your situation.