

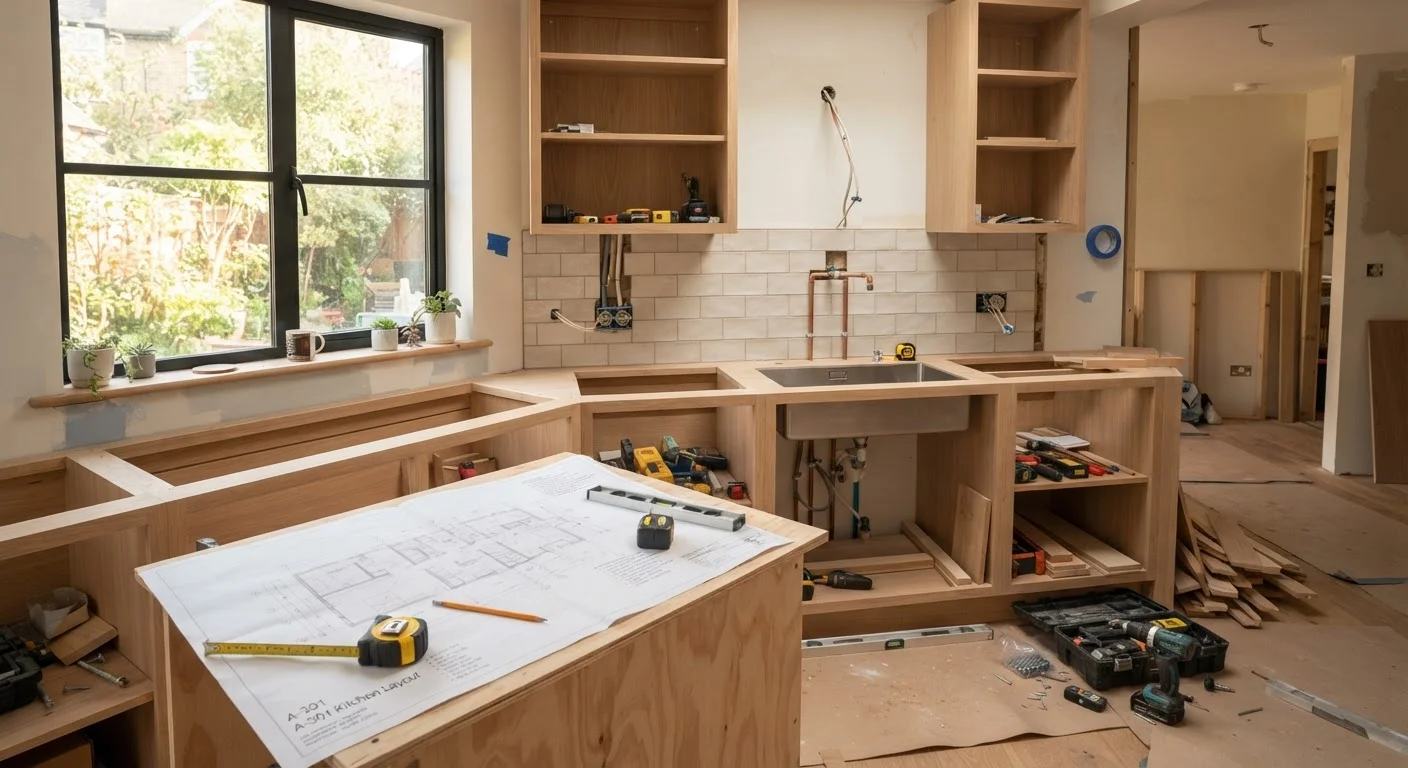
Start With the Layout, Not the Finishes
Most renovation regrets trace back to one mistake: falling in love with cabinet doors or countertop samples before confirming the layout actually works. The work triangle — the relationship between the sink, stove, and refrigerator — remains the foundational planning principle because it directly affects how efficiently you cook every day. Before choosing anything visual, draw your existing footprint to scale and identify whether you are keeping, reconfiguring, or expanding it.
Key layout questions to answer first:
- Are you moving any walls? If so, is the wall load-bearing? A structural engineer's assessment is required before any load-bearing wall is altered.
- Will plumbing move? Relocating a sink across the room dramatically increases costs and complexity.
- Is there enough natural light, and if not, can a window be added or enlarged?
- Does the island you want actually fit, with adequate clearance (typically 42–48 inches) on all sides for traffic flow?
Once the spatial logic is locked in, finishes become much easier to choose — and you avoid expensive change orders mid-project. For broader room-level planning principles, see our room planning checklist before you spend a dollar.
Measure your largest appliance — typically the refrigerator — and confirm it can be delivered into the finished kitchen before cabinets are installed. Delivery pathways are frequently overlooked until move-in day.
Refrigerators and ranges often cannot navigate tight hallways or doorways once surrounding cabinetry is in place, forcing costly workarounds or appliance changes after the fact.
Order cabinets and countertop materials at least six to eight weeks before you need them — lead times routinely surprise homeowners and stall projects mid-construction.
Supply chain variability means even standard cabinet lines can have extended lead times; a delayed material delivery can push your entire finish schedule back by weeks.
Permits, Codes, and Licensed Trades
Kitchen renovations routinely trigger permit requirements because they involve multiple regulated systems. In most U.S. jurisdictions, the following work requires a permit and a licensed contractor:
- Electrical: Adding circuits, relocating outlets, installing a range hood vented to the exterior, or upgrading the panel.
- Plumbing: Moving or adding supply and drain lines, installing a new dishwasher connection, or adding a gas line for a range.
- Structural: Any alteration to load-bearing walls, beams, or the floor system.
- Gas: Gas line work is regulated in every state and must be performed by a licensed professional — this is non-negotiable for safety.
Never Skip Permits for Regulated Work
Electrical, plumbing, gas, and structural alterations require permits in virtually every U.S. jurisdiction. Skipping permits is not a shortcut — it is a liability. Unpermitted work can void homeowner's insurance coverage, create problems during a home sale, and require expensive demolition if discovered during a future inspection. Always confirm requirements with your local building department before work begins.
Permit requirements vary by municipality. Contact your local building department early — not after work begins — to confirm what is required for your specific project scope. Unpermitted work can complicate home sales, void homeowner's insurance claims, and require costly demolition to pass retroactive inspection.
Building Your Renovation Team
Smaller cosmetic updates — painting, hardware swaps, backsplash tile — are reasonable DIY territory for a capable homeowner. A full kitchen remodel, however, typically requires coordinating several trades: a general contractor (GC), plumber, electrician, and sometimes a cabinet installer or tile setter.
When interviewing contractors:
- Verify their license and insurance in your state before signing anything.
- Ask for references from similar kitchen projects completed within the past two years.
- Request an itemized written bid, not a lump-sum estimate, so you can compare line items across bids.
- Clarify who is responsible for pulling permits — it should typically be the licensed contractor performing that trade.
A general contractor coordinates subcontractors and handles scheduling, which is worth the markup on complex projects. On simpler remodels, some homeowners act as their own GC — managing each trade directly — but this requires significant time, availability, and familiarity with construction sequencing.
~$27,000
Median U.S. kitchen remodel cost
According to the National Kitchen & Bath Association's industry research, midrange kitchen remodel costs vary widely by region and project scope.
60–80%
Typical cost recouped at resale
Remodeling Magazine's Cost vs. Value report indicates major kitchen remodels recoup roughly 60–80% of costs on average, depending on market conditions.
6–12 weeks
Typical full remodel timeline
Industry professionals generally estimate 6 to 12 weeks for a full kitchen gut renovation, with variation based on scope and contractor availability.
Sequencing the Work Correctly
Trade sequencing is where amateur project management most often breaks down. Work must proceed in the correct order or you pay to redo it. A standard kitchen renovation sequence looks like this:
- Demolition — Remove old cabinets, flooring (if replacing), and any walls being altered.
- Structural work — Beam installation, wall framing changes.
- Rough-in trades — Plumbing rough-in, electrical rough-in, HVAC duct work. All happen before walls are closed.
- Inspections — Required inspections must pass before walls are closed.
- Insulation and drywall — Walls and ceilings are closed and finished.
- Painting — Prime and paint walls before cabinets are installed to avoid cutting in around them.
- Cabinet installation — Upper cabinets first, then lowers.
- Countertop templating and fabrication — Countertops are measured after cabinets are set; fabrication takes 1–3 weeks depending on material.
- Backsplash tile — Installed after countertops.
- Finish plumbing and electrical — Fixtures, outlets, and appliances are connected.
- Flooring — If hardwood or tile runs under cabinets, install before; if it runs to the base of cabinets, install after.
- Final trim, hardware, and touch-up painting.
Don't Order Countertops Too Early
Countertop fabrication requires a template taken from installed cabinets — not from plans. Ordering stone or quartz countertops before cabinets are set and level will almost certainly result in a poor fit. Build the templating appointment into your schedule only after cabinet installation is fully complete.
Managing Disruption at Home
A kitchen renovation lasting four to twelve weeks removes your primary cooking and dining space. Planning a temporary kitchen before demolition begins significantly reduces daily stress. Set up a folding table with a microwave, toaster oven, electric kettle, and mini-fridge in an adjacent room. Move dishware, pantry staples, and utensils there before work starts.
Other practical steps:
- Protect the rest of the house with plastic sheeting over doorways to contain dust — drywall and demo dust travel far.
- Establish clear working hours with your contractor to maintain household routine.
- Store fragile or valuable items away from the work zone.
- If you have children or pets, identify safe zones and communicate them to the crew.
Living through a renovation is a meaningful disruption, but it is temporary. For renters considering lighter-touch transformations instead, our guide on starting a space from scratch covers approaches that don't require permits or contractors.
Final Touches and Punch-List Review
Before you make final payment or release a contractor's retainage, walk the finished kitchen methodically with a written punch list — a documented record of every incomplete or deficient item. Common punch-list items include cabinet doors that don't align, grout that needs sealing, missing hardware, paint touch-ups, and appliances not yet tested.
Check each of the following before signing off:
- All drawers and cabinet doors open, close, and latch correctly.
- Sink, dishwasher, and garbage disposal are fully plumbed and leak-free.
- All electrical outlets and switches function; GFCI outlets near water sources trip and reset properly.
- Range hood ventilation works and exhausts to the outside.
- Countertop seams and backsplash grout lines are complete and sealed if required.
- Final inspections are passed and permit cards are signed off.
Once the kitchen is complete, it naturally becomes the hub for broader household organization. Explore our household management resources for maintaining the space efficiently after the renovation dust settles.
This article provides general home improvement information for educational purposes only. Work involving structural, electrical, gas, or plumbing systems should be assessed and performed by licensed professionals. Always verify local permit requirements with your municipal building department before beginning renovation work.
The content on this site is for informational purposes only and is not a substitute for professional advice. Always consult a qualified professional for guidance specific to your situation.