

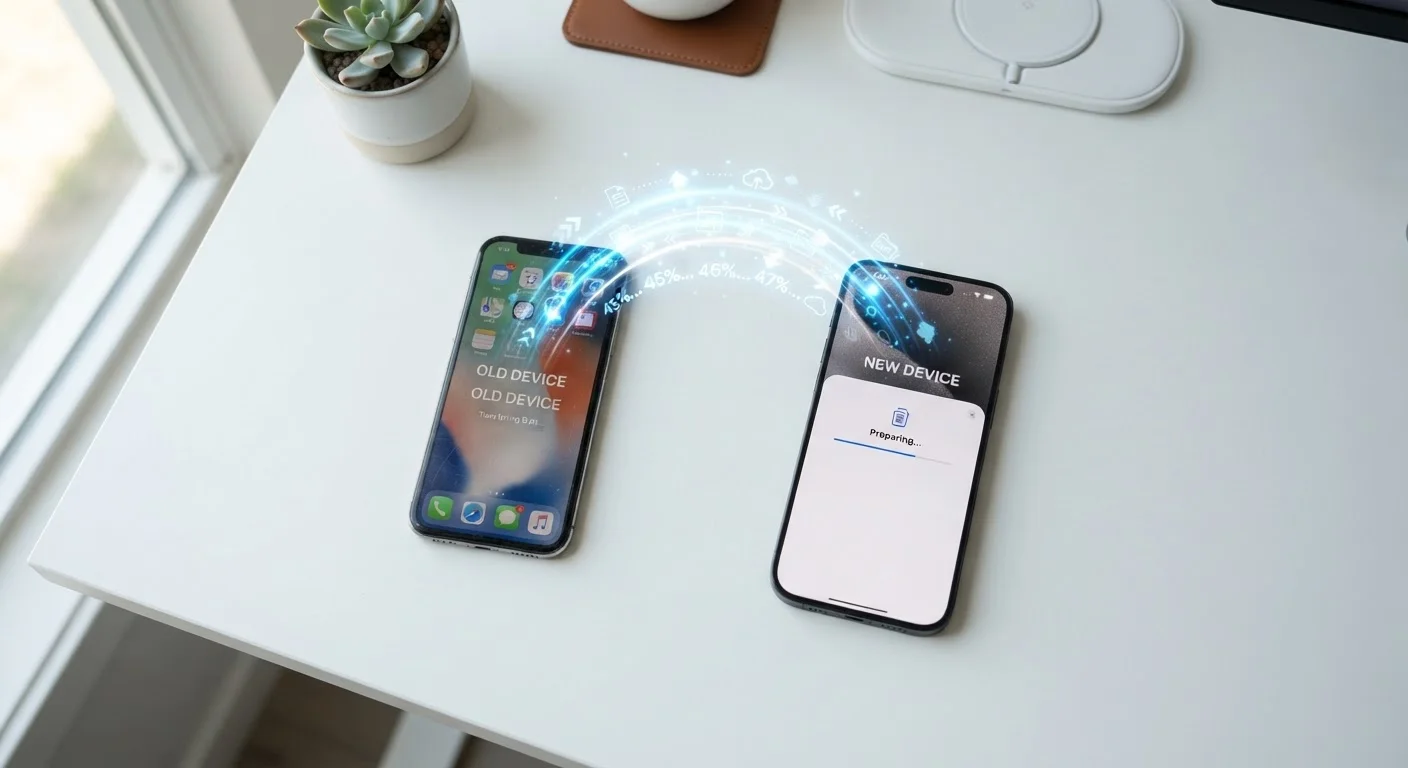
Why Phone Transfers Go Wrong (and How to Avoid It)
Most phone transfer failures share a common cause: people skip the backup step and jump straight to the new device. Without a verified, complete backup, any interruption — a Wi-Fi dropout, a low battery, or a mismatched platform — can leave data stranded. Understanding the process before you start is what separates a smooth migration from a stressful one.
It also helps to know that platform matters. Moving from iPhone to iPhone, or Android to Android, is considerably more straightforward than crossing platforms. If you're switching ecosystems, some data — particularly paid apps and platform-specific features — simply won't make the journey. Our guide on how Android and iOS differ in practice covers what to expect when making that leap.
Charge Both Phones Before You Start
A transfer interrupted by a dead battery can corrupt files or leave your new phone in an incomplete state. Plug both devices into power before beginning any transfer process and keep them connected throughout. If one phone has a damaged charging port, address that first.
Here's what you'll need before starting:
What you will need
What You'll Need
Having the right tools and accounts ready before you begin dramatically reduces friction. Most of what you need is already available through your existing phone accounts:
USB-C to USB-C cable (or appropriate cable for your devices)
Enables a wired, fast, and reliable direct connection between phones during transfer.
Google account (for Android users)
Stores contacts, photos via Google Photos, app purchases, and device settings in the cloud.
Apple ID / iCloud account (for iPhone users)
Backs up and restores iPhone data including messages, photos, health data, and app settings.
Wi-Fi connection
Required for cloud backup and restore steps; a strong, stable connection speeds up the process significantly.
Authenticator app export (Google Authenticator, Authy, etc.)
Ensures two-factor authentication codes transfer safely without locking you out of accounts.
Step-by-Step Transfer Instructions
Follow these steps in order. Skipping ahead — especially past the backup and authenticator steps — is where most problems originate.
Back Up Your Old Phone Completely
This is the most important step in the entire process. On iPhone, go to Settings → [Your Name] → iCloud → iCloud Backup and tap Back Up Now. Wait for it to complete fully. On Android, go to Settings → System → Backup and confirm Google Backup is on, then tap Back up now. Also open Google Photos and confirm it has finished syncing all images.
Handle Authenticator Apps Before Anything Else
Open any two-factor authentication apps (such as Google Authenticator or Authy) and use their built-in transfer or export feature to move accounts to your new phone before starting the main migration. Each app has a slightly different process — look for an option labeled Transfer accounts, Export, or Move to new phone within the app's settings menu.
Use the Built-In Transfer Tool During New Phone Setup
Power on your new phone. Both major platforms include a migration assistant designed to run during initial setup:
- iPhone to iPhone: Use Quick Start — hold both phones together and follow the on-screen prompts. You can restore from iCloud or transfer directly over a wired connection.
- Android to Android: The setup wizard will offer to copy data from your old phone via cable or Wi-Fi using Google's Copy your data tool.
- Switching platforms (Android to iPhone or vice versa): Apple offers the Move to iOS Android app; for the reverse, your Google account sync handles most data. Note that some app data and paid apps may not cross platforms.
If you've passed initial setup, most platforms allow you to restore from backup through the settings menu instead.
Restore Apps and Verify App-Specific Data
Most apps will reinstall automatically, but their internal data (saved game progress, downloaded content, offline files) only transfers if the app uses cloud sync or you're restoring from a full device backup on the same platform. After installation, open key apps — especially banking, fitness, and productivity tools — and confirm your data is intact. Apps that store data locally only may require a manual export from the old phone first.
Confirm Photos, Contacts, and Messages
Open your photo gallery and scroll through to confirm your library is fully present, including albums and recently added images. Check your contacts list and send a test message to confirm SMS and messaging apps are working under your number. For iPhone users, verify iMessage is activated. For Android, confirm your Google account contacts are fully synced under Settings → Accounts.
Activate Your SIM or eSIM
Data transfer and SIM activation are separate processes. Insert your physical SIM card into the new phone, or follow your carrier's instructions to transfer an eSIM digitally. Contact your carrier directly if your number isn't active on the new device — this step is not handled by Apple or Google's transfer tools.
Keep the Old Phone Until Everything Is Confirmed
Leave your old phone powered on and accessible for at least 48 hours. Use your new phone as your primary device during this window, and if you encounter anything missing — a specific photo folder, an app login, a stored password — you still have access to recover it. Only after you're fully satisfied should you wipe the old device before trading it in or passing it along.
Don't Factory Reset Until You've Verified
Many people wipe or sell their old phone immediately after transfer, only to discover a missing app, photo album, or authenticator code too late. Keep your old device accessible and powered on for at least 48 hours after switching. Confirm every critical item — especially authenticator apps and niche app data — is present on the new phone before permanently erasing the old one.
After the Transfer: What to Check and What Comes Next
Once your new phone is running, a few final checks keep you fully covered:
- Passwords: If you use a password manager app, confirm it's installed and your vault is accessible on the new device before you need it urgently.
- Payment apps: Digital wallets and payment apps typically require re-verification on a new device for security reasons — have your card details or bank login ready.
- Health and fitness data: Apple Health data transfers via iCloud backup; Google Fit syncs through your account. Third-party fitness apps may require their own sync settings.
With everything confirmed, your new phone is ready for everyday use. For a broader look at getting the most out of it from the start, see the first things to do when you get a new smartphone. And to keep it running well long-term, consistent smartphone maintenance habits make a real difference over time.
Two-Factor Authenticator Apps Need Special Handling
Apps like Google Authenticator or Authy do not automatically migrate their codes through standard backup tools. Before transferring, export or transfer your authenticator accounts using the app's own built-in migration feature. Failing to do this before wiping your old phone can lock you out of important accounts.
The content on this site is for informational purposes only and is not a substitute for professional advice. Always consult a qualified professional for guidance specific to your situation.