

Why a Room-by-Room Approach Works
Whole-home decluttering projects often stall because the scope feels impossible. A room-by-room framework breaks the work into bounded, completable units — each session has a clear start, a visible finish, and a tangible result. That structure matters: a finished room signals progress in a way that a half-sorted living room simply does not.
This approach also keeps decision fatigue manageable. Decluttering requires hundreds of small judgments, and willpower degrades over long sessions. By limiting each session to one room or even one zone within a room, you make better decisions and are more likely to return for the next session.
Research in environmental psychology suggests that physical disorder in the home can contribute to elevated stress and difficulty concentrating, though the relationship is individual and contextual. A less cluttered environment may support a calmer daily routine — something worth considering alongside the mental wellness strategies that work for your household. If you're eventually planning to redecorate once you've cleared the space, starting from a blank slate becomes a much more realistic goal.
What you will need
The Step-by-Step Process
The following steps walk you through a complete room declutter from start to finish. You'll need your sorting containers and a timer before you begin.
Labeled sorting bins or boxes
Physically separating items into Keep, Donate, and Discard categories as you work through each room.
Timer (phone or kitchen timer)
Keeping decluttering sessions focused and time-bounded to avoid fatigue and decision paralysis.
Sticky notes or masking tape
Marking items that need a second look or belong in another room without interrupting your current session.
Notepad or digital notes app
Tracking what you've discarded, what needs replacing, and where donated items will go.
Choose your starting room strategically
Pick a room with relatively low emotional stakes for your first session — a bathroom, hallway, or entryway works well. These spaces tend to accumulate functional clutter (expired products, duplicate items, outgrown gear) rather than sentimental objects, which makes decisions faster and builds momentum. Save bedrooms and storage spaces for after you've developed a rhythm.
Set a timer and clear the entire surface or zone
Set a timer for 25–45 minutes. Pull everything out of the zone you're working on — a cabinet, a closet section, a countertop — and place it all in one visible area. This step is uncomfortable, but seeing the full volume of what you own helps you make clearer decisions than sorting items in place.
Sort every item into Keep, Donate, or Discard
Handle each item once and place it directly into one of your three containers. Ask two practical questions: Have I used this in the past 12 months? and Would I buy this again today? If the answer to both is no, it almost certainly belongs in Donate or Discard. Items that are broken, expired, or missing parts go straight to Discard. Duplicates of functional items — the fourth spatula, the extra set of sheets you never reach for — are strong donate candidates.
Apply room-specific logic to each space
Each room has its own clutter patterns. Use these targeted approaches:
- Kitchen: Check expiration dates on pantry items, consolidate duplicates, and remove gadgets that serve only one rarely-used purpose. The pantry organization guide can help you structure what remains.
- Bedroom: Focus on clothing (the 12-month rule applies), nightstand accumulation, and under-bed storage. Tackle sentimental items in a separate session with more time.
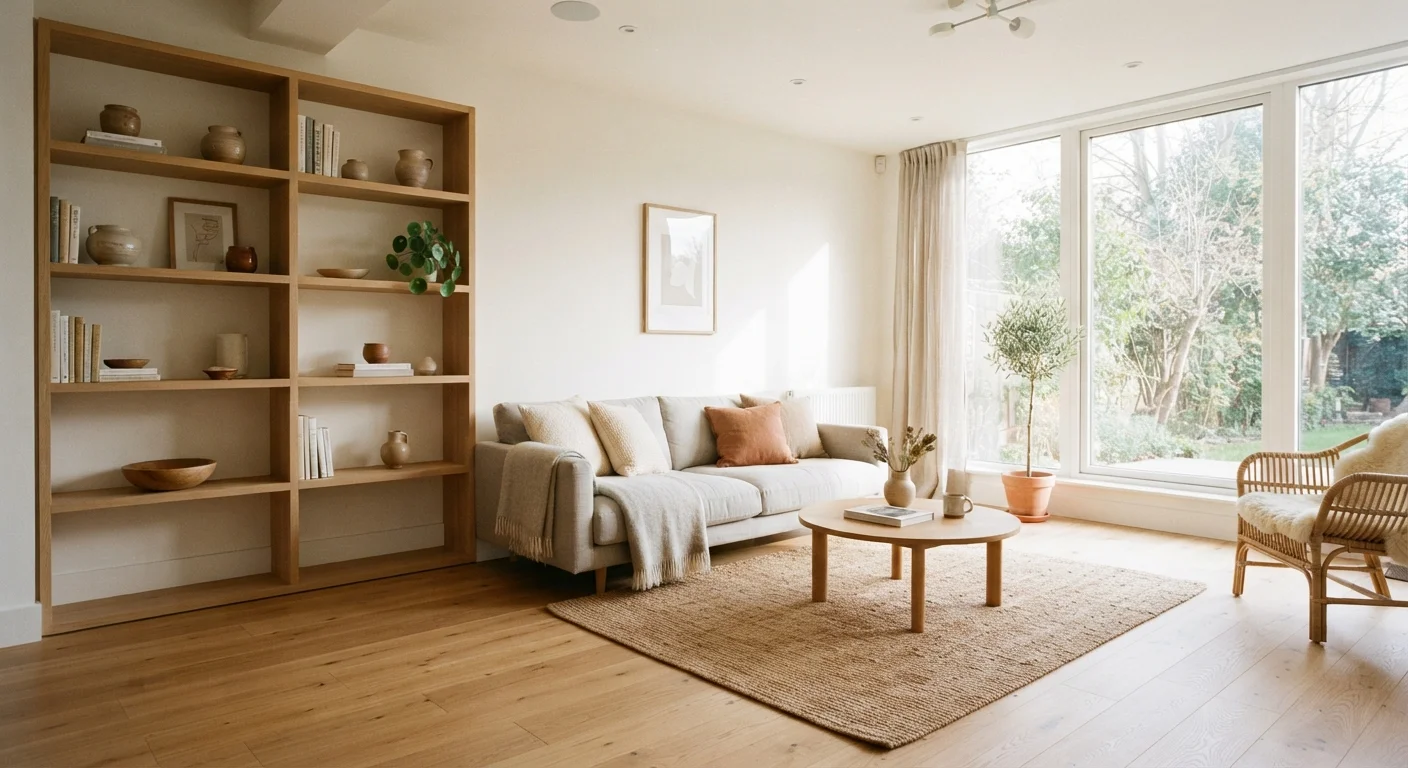
- Living room: Target media, books, and decorative items. Ask whether each piece earns its space visually and functionally.
- Bathroom: Discard expired medications and products, consolidate duplicates, and remove items that belong elsewhere.
- Entryway: This is the home's highest-traffic threshold — keep only what you actually use daily. Everything else should have a home deeper in the house.
Return only Keep items — with intention
Before placing Keep items back, wipe down the emptied surface or shelf. Return items organized by frequency of use: things you reach for daily go at the front and at eye level; seasonal or rarely used items go higher up or further back. Resist the urge to immediately buy organizers or bins — live with the space for a week first to understand what storage, if any, you actually need.
Remove Donate and Discard items from your home promptly
The same day or within 48 hours, move Donate bags to your car and Discard bags to the trash or recycling. Items that linger in hallways or garages have a tendency to creep back. Schedule the actual donation drop-off before you start your next room — the act of completing the loop reinforces the habit and prevents backslide.
Build a 10-Minute Daily Reset Habit
After completing your initial room-by-room declutter, a short daily reset — returning misplaced items, clearing surfaces, doing a quick scan — prevents clutter from rebuilding. Pairing this with an existing habit like making coffee or finishing dinner makes it easier to sustain. For broader household routines that complement this habit, the small-space household management guide offers practical systems worth adapting to any home size.
Don't Declutter Someone Else's Belongings
Only sort items that are clearly yours. Discarding or donating a family member's or roommate's possessions without their explicit agreement — even with good intentions — damages trust and can cause real conflict. For shared spaces, schedule a joint session where each person handles their own items.
Sentimental Items Need Their Own Session
Mixing sentimental objects with functional clutter stalls the entire process. Items with emotional significance require more time and mental energy per decision. Set a specific, separate session for photos, inherited objects, and keepsakes — complete at least two or three rooms first so you're in a practiced decision-making mindset before you reach them.
Maintaining Results Over Time
The goal of a declutter isn't a one-time transformation — it's establishing a baseline that's easier to maintain. Once each room has been sorted, the upkeep requires far less effort than the initial clear-out. Two habits support long-term results most reliably:
- One-in, one-out: When a new item enters the home, a comparable item leaves. This keeps volume stable without requiring periodic purges.
- Seasonal reviews: A brief pass through closets and storage areas at the change of each season — roughly 20–30 minutes per room — catches accumulation before it becomes overwhelming. This pairs naturally with an annual home audit, which addresses both organization and home maintenance in a single walkthrough.
For households managing paperwork alongside physical clutter, paper vs. digital organization systems explores how to bring the same clarity to documents and records. And once your rooms are clear, small-space decorating principles can help you make the most of what you have.
The content on this site is for informational purposes only and is not a substitute for professional advice. Always consult a qualified professional for guidance specific to your situation.