

Start here
Why a Nighttime Routine Is Worth Building
Learn the language
Key Concepts: Skincare Basics Defined
First step
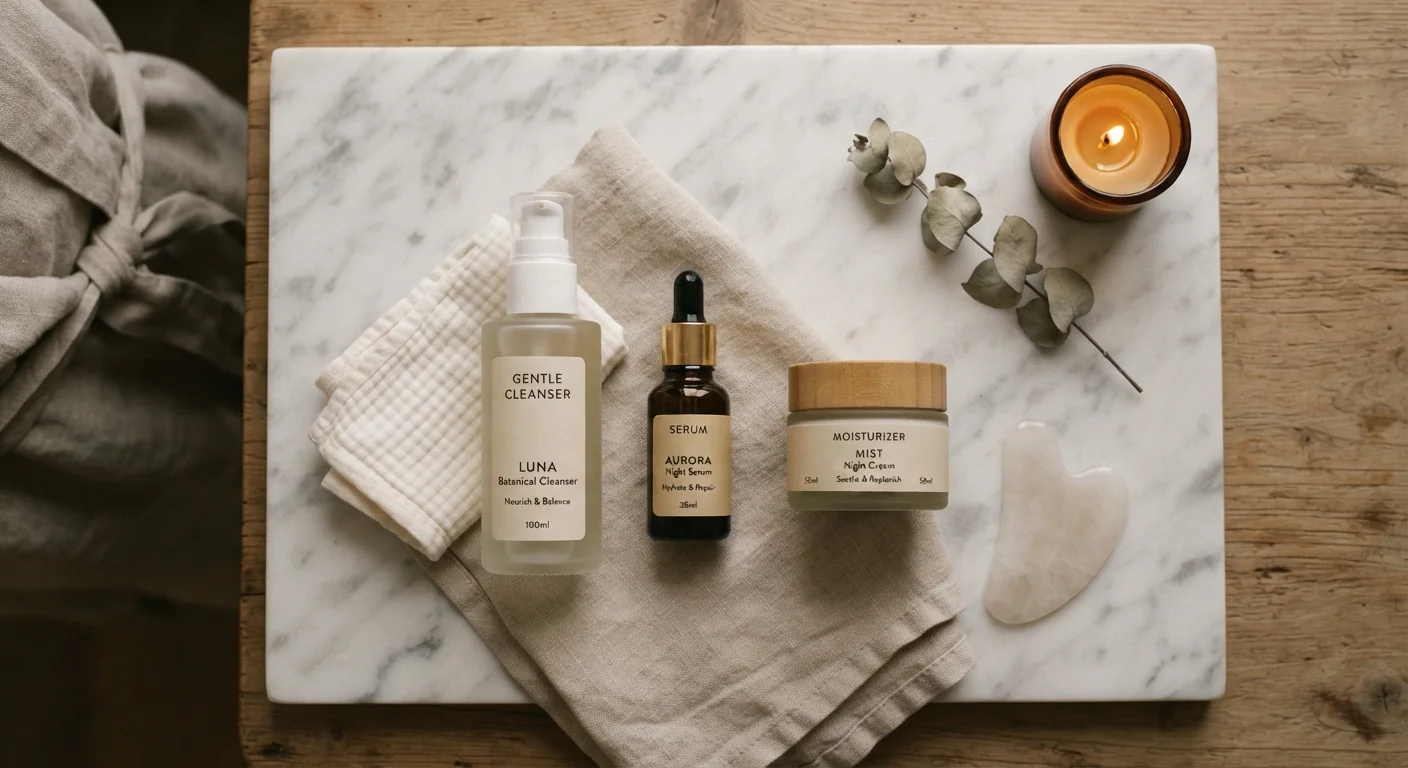
Step 1: Cleanse Away the Day
Go deeper
Step 2: Treatment (Optional but Powerful)
Lock it in
Step 3: Moisturize and Seal
Make it stick
Building Consistency and Adapting Over Time
Why a Nighttime Routine Is Worth Building
While you sleep, your body shifts into repair mode — and your skin is no exception. Skin cell turnover accelerates overnight, and the absence of UV exposure, pollution, and makeup means that products applied in the evening can work without competing with environmental stressors. That makes nighttime one of the most productive windows for skincare.
You don't need a ten-step regimen to benefit. Even a focused two- or three-step routine done consistently delivers more than an elaborate routine applied sporadically. If you already have a daytime habit, our five-minute morning skincare routine shows how the two routines complement each other — different goals, shared simplicity.
The evening routine's job: remove what accumulated during the day, support the skin's natural overnight repair, and — once you're ready — introduce targeted treatments that work best without sun exposure.
Key Concepts: Skincare Basics Defined
Before diving into steps, it helps to speak the language. Skincare has its fair share of buzzwords, and understanding a few core ideas makes product labels and routine advice much easier to navigate.
Skin barrier
The outermost layer of skin that acts as a protective shield, keeping moisture in and irritants out. Many skincare decisions center on protecting or repairing this barrier.
Cleanser
A product designed to remove dirt, oil, makeup, and debris from the skin's surface. Available in gels, foams, milks, oils, and balm textures to suit different skin types.
Active ingredient
An ingredient in a skincare product that performs a specific, measurable function — such as retinol for skin renewal or niacinamide for uneven tone. The term distinguishes working ingredients from base or filler components.
Retinoid
A family of vitamin A–derived ingredients used topically to support skin cell turnover. Retinol is the most widely available over-the-counter version; stronger forms require a prescription.
Non-comedogenic
A label indicating a product is formulated to avoid clogging pores. Particularly relevant for those with oily or acne-prone skin when choosing moisturizers or makeup.
Transepidermal water loss (TEWL)
The natural process by which water evaporates through the outer layers of skin into the air. Moisturizers and occlusives help slow this process and keep skin feeling hydrated.
Patch testing
Applying a small amount of a new product to a discreet area of skin — such as behind the ear or on the inner arm — and waiting 24–48 hours to check for irritation before using it on your face.
Occlusive
An ingredient or product that creates a physical seal on the skin's surface to lock in moisture. Common occlusives include petroleum jelly and some heavier plant-based waxes.
Step 1: Cleanse Away the Day
Cleansing is non-negotiable. Throughout the day, skin accumulates sunscreen residue, sebum, pollution particles, and — if you wear it — makeup. Sleeping in all of that can clog pores and dull the complexion over time.
Choose a cleanser matched to your skin type: gel or foaming formulas tend to suit oilier skin, while cream or milk cleansers feel more comfortable on dry or sensitive skin. Apply to damp skin, massage gently for about 30–60 seconds, and rinse with lukewarm water. Pat (don't rub) dry with a clean towel.
If you wear heavy sunscreen or makeup, a double-cleanse approach — an oil-based cleanser first, then a water-based one — can remove residue more thoroughly. For a side-by-side breakdown of your cleansing options, see cleanser vs. micellar water.
Make Patch Testing a Habit
Before applying any new product to your entire face, test it on a small patch of skin — the inner arm or behind the ear both work well. Wait 24–48 hours and check for redness, itching, or irritation. It's a small step that can save your skin from a difficult reaction.
Step 2: Treatment (Optional but Powerful)
Once your skin is clean, this is where targeted ingredients come in. Treatment steps are optional for beginners — but they're worth understanding so you can add them when you feel ready.
Common nighttime treatment formats include:
- Serums: Lightweight, concentrated formulas that deliver active ingredients like vitamin C, niacinamide, or hyaluronic acid directly into skin.
- Exfoliating acids (AHAs/BHAs): Used a few nights per week to encourage cell turnover and smooth texture. These make skin more photosensitive, so nighttime use is preferred.
- Retinoids: A broad category of vitamin A derivatives known for their role in supporting skin renewal. Retinoids are among the most well-studied topical ingredients, but they require a slow introduction to avoid irritation.
Product order matters here. As a general rule, lighter textures go before heavier ones. For a thorough breakdown of how to sequence every step, see layering skincare products in the right order.
Don't Combine Actives Too Quickly
Using multiple active ingredients at once — for example, a retinoid and an exfoliating acid on the same night — can cause significant irritation, especially for beginners. Introduce one new treatment at a time and give your skin several weeks to adjust before adding another. If you experience persistent redness, peeling, or burning, discontinue and consult a dermatologist.
If your skin reacts easily, read our guide on introducing active ingredients safely for sensitive skin before adding any treatment step.
Step 3: Moisturize and Seal
Moisturizer is the final and essential step. It seals in everything applied before it, supports the skin barrier, and prevents transepidermal water loss — the process by which skin loses hydration to the surrounding air overnight.
Night creams and regular moisturizers both work; night creams are simply often richer in texture, which can feel especially comfortable in colder, drier months. If you use a facial oil, it typically goes on last, over your moisturizer, as a final occlusive layer. Those with very dry skin sometimes take this a step further with a technique called slugging — applying a thin layer of petroleum jelly over their moisturizer — though this approach isn't suited to every skin type.
Apply moisturizer to slightly damp skin and press it in gently rather than pulling or tugging. Don't forget your neck, which is often skipped but ages similarly to the face.
Building Consistency and Adapting Over Time
The honest truth about skincare: a simple routine done consistently beats an elaborate one done occasionally. Most visible skin changes require at least four to six weeks of regular use — that's roughly one full skin cell cycle. Give new products real time before deciding they aren't working.
A few habits that help routines stick:
- Keep products visible and within reach of the sink.
- Tie the routine to something you already do — brushing your teeth, for instance.
- If you tend to fall asleep before getting to it, try completing your routine right after dinner instead.
Once you're comfortable with the basics, consider how your routine may need to shift with the seasons. Cold air, humidity changes, and indoor heating can all affect the skin barrier. Our guide on seasonal skincare adjustments covers those transitions in detail.
Above all, remember that skincare is personal. What works for someone else's skin may not be right for yours, and if you have concerns about persistent skin issues, a dermatologist is the right person to consult.
This article is for general informational and educational purposes only. It is not a substitute for professional medical or dermatological advice. If you have skin concerns or conditions, please consult a qualified healthcare professional.
Frequently Asked Questions
Not necessarily, but it helps. A daytime routine prioritizes protection (especially SPF), while an evening routine focuses on repair and treatment. Even using the same cleanser and moisturizer with an added treatment step at night is a meaningful upgrade.
Most skin changes take at least four to six weeks to become visible, since that's roughly how long one skin cell cycle lasts. Give any new routine at least that long before judging whether it's working. Consistency is the key variable.
Skipping moisturizer is generally not recommended, even for oily skin. When skin is under-moisturized it can produce more sebum to compensate. A lightweight, non-comedogenic moisturizer helps maintain the skin barrier without adding heaviness.
Dermatologists commonly recommend starting retinoids two or three nights per week to allow your skin to adjust, then gradually increasing frequency. Irritation, dryness, and peeling are common when introducing retinol too quickly.
Lukewarm water is generally considered the safest choice. Very hot water can strip the skin's natural oils, while cold water may not effectively rinse away cleansers. A comfortable lukewarm temperature is a practical middle ground.
Missing a night occasionally won't derail your progress. What matters most is overall consistency across weeks and months. If you regularly fall asleep before completing your routine, try shifting it to right after dinner instead.
The content on this site is for informational purposes only and is not a substitute for professional advice. Always consult a qualified professional for guidance specific to your situation.